Security is a top concern these days, making it a profitable industry too. When times have become more dangerous, people cannot take chances. This is why home and business owners invest in security systems that are helpful in preventing burglary and other emergencies.
Honeywell, the leading global manufacturer of security solutions, is catering to a new generation of customers with its extensive technology portfolio. Its line of alarms and home security systems do more than just protect homes but also connect them. But technology is only as useful as you want it to be. You have to make sure that all of its elements are being maximized and functioning well.

Photo courtesy of alarm system store
Among the main components of a home alarm system is the battery. A busted battery is one of the top causes for alarm system trouble. For Honeywell, batteries have to be replaced between 3 and 7 years depending on the unit or model. Does it take a tech expert to replace a Honeywell alarm battery? No, it does not. Just like Honeywell alarm kits, replacing some parts is something you can do yourself.
Here’s a step-by-step guide on how to replace the battery of your Honeywell alarm system main panel.
Step 1: Silence the system
Generally when the battery needs to be replaced, your keypad will be beeping at you to remind you. Press the # key or enter your code followed by 1 to silence it temporarily.
Step 2: Unlock the can door
After you have silenced the system, go to the main can which is usually in your closet or basement. Vista systems come with a lock and key to make unwanted tampering more difficult. To make the process of changing the battery easier, you may just pull off the door and set it aside after you get it open.
Step 3: Remove old battery
Once you have opened the can door, you will see the battery resting at the bottom. There are two wires attached to the battery: one black and one red. Pull each one off the battery terminals. They are usually very easy to pull off, but may require some force in the connectors are tight. Now that you have successfully removed the wires, take out the battery and put it aside. Always properly recycle your batteries.
Step 4: Put the new battery
You are now ready to install your new Honeywell alarm battery, which is usually a 12-volt, 4-Amp hour battery. A quick tip: write down the installation date of the new battery and tape it to the battery. This will remind you if you need to replace the battery again in the future. They usually last about 5 years.
Remember the black and red wires? Attach them again to the simple clips of the same color. Connect the black wire to the black terminal and the red wire to the red terminal.
Step 5: Lock the door
Your old battery have now been replaced. Close the door and lock it.
Step 6: Make sure the trouble condition clears
Your security system now have a new lease on life. Sometimes the battery will require a few hours to fully charge when you first put it on. But if the low battery condition does not go away on its own, entering programming and then exiting will reset it. Use your installer code followed by 800. Then press *99 to exit.
That was easy, right? Now, if you have a wireless keypad that needs its batteries to be replaced, there’s also a way to do that. And it is also as breezy.
 Photo courtesy of visor69 via Pixabay
Step 1: Turn it off
Make sure to disarm your system first by entering a security code and then 1. If your keypad is AC-powered, make sure to pull the plug. If it is wall-mounted, lift the keypad straight up and then out to separate the keypad from the mounting plate.
Step 2: Remove the old battery
On the back of the keypad, remove the battery compartment cover and remove the old batteries. Remember to discard properly.
Step 3: Replace with new battery
You are now ready to replace the battery of your Honeywell keypad. Use three AA, 1.5 volt, alkaline batteries. Remember to replace all three batteries at once to ensure normal operation over the anticipated battery lifetime. Put the batteries in the negative and positive terminals as shown in the compartment. Replace the battery cover.
Step 4: Reattach the keypad
If the keypad is mounted to the wall, re-attach its mounting plate by aligning the mounting holes in the keypad case with the mounting clips. Lower the keypad onto the clips. If the keypad is AC powered, plug it onto the outlet.
Step 5: Activate the keypad
Now that your keypad has fresh batteries, you may now activate it by pressing any numbered key until you hear a beep.
The Honeywell alarm system is incredibly user-friendly. Its how-to guides are also incredibly simple. Replacing the batteries for the main system and the keypad should not require much effort. Remember to replace them regularly to avoid alarm troubles.


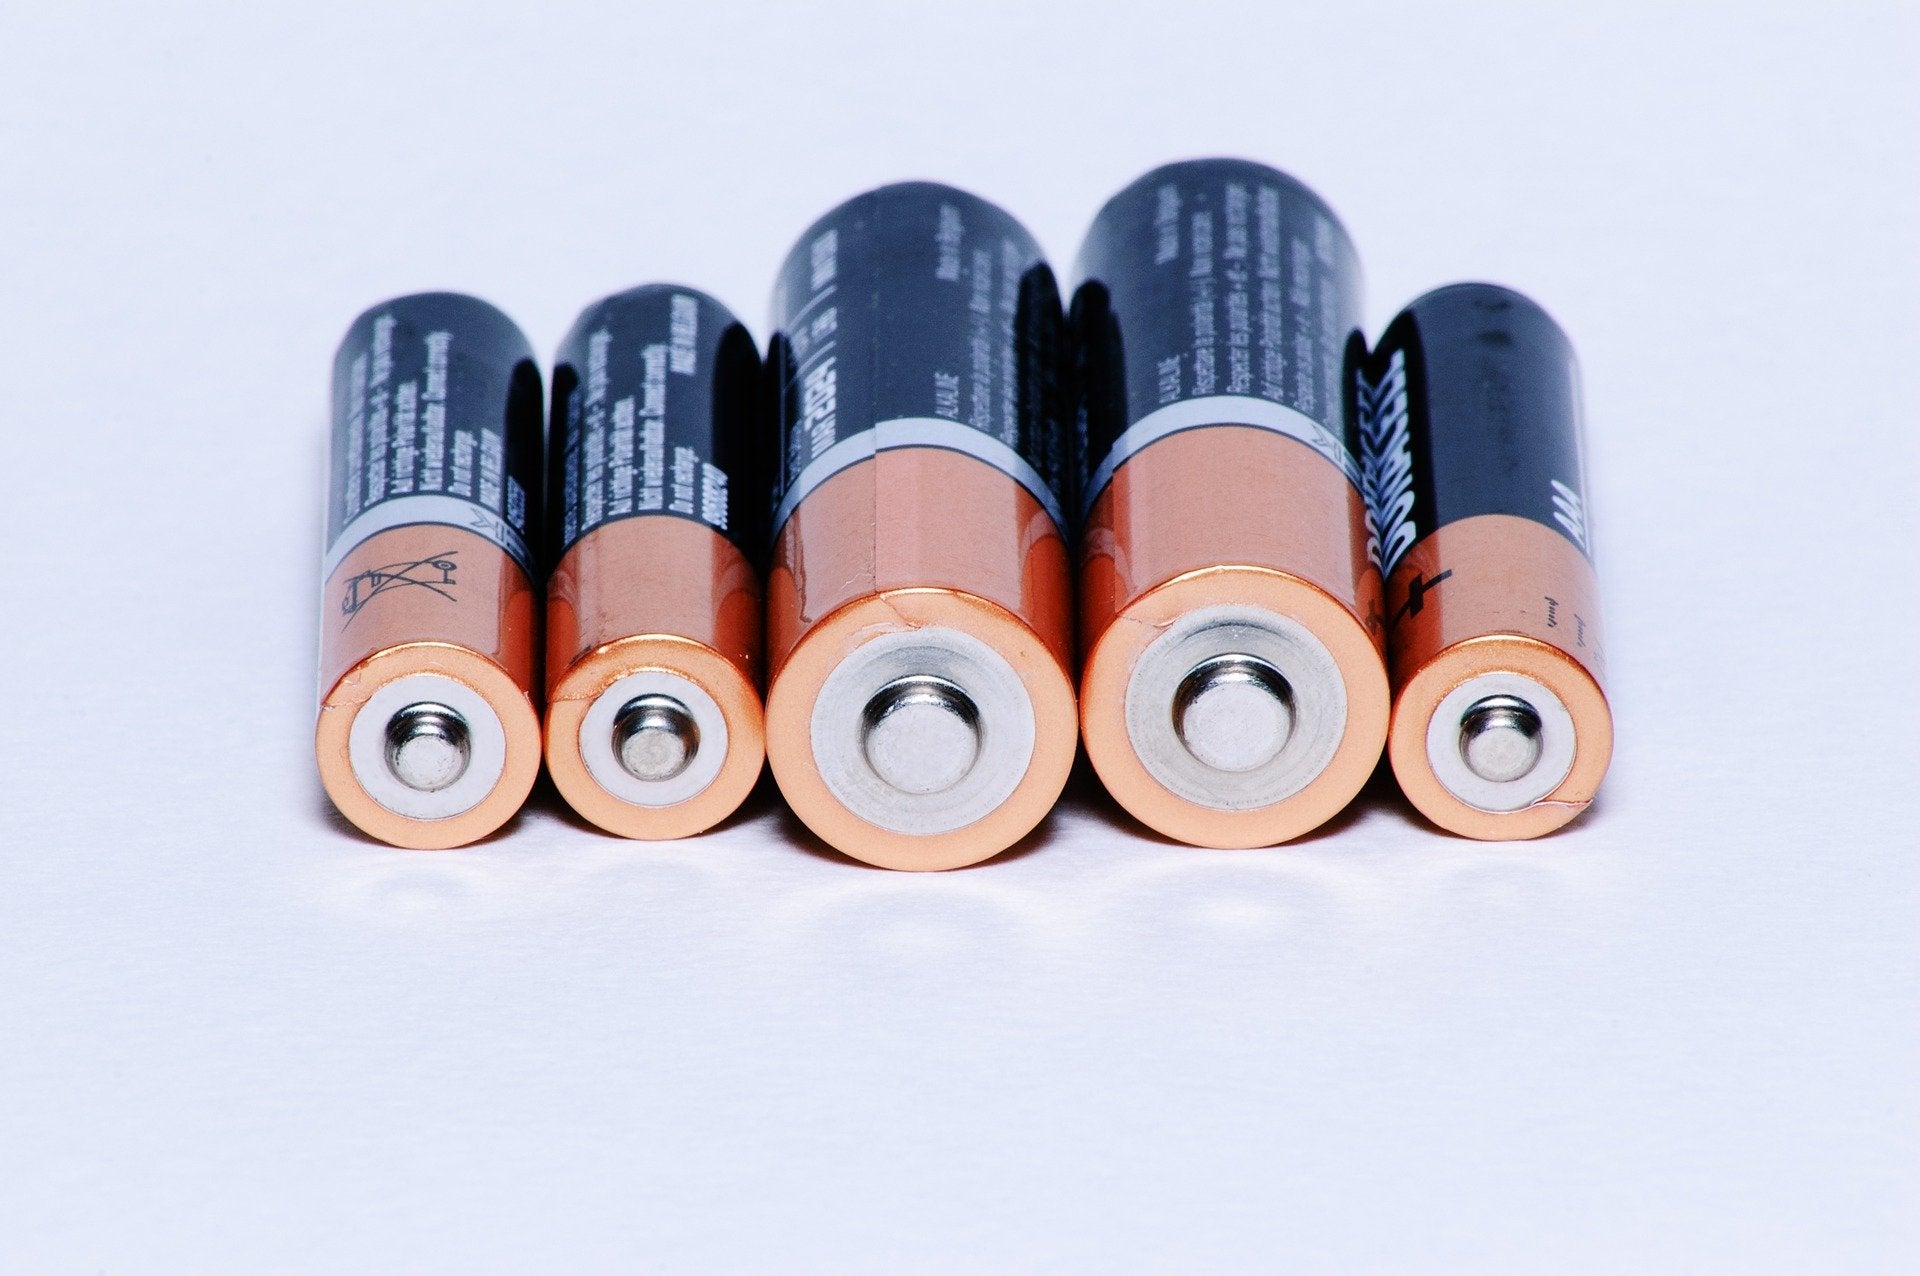
 Photo courtesy of visor69 via Pixabay

Comments
donna rose
My central alarm pad showed “Check window 17” or something like that. I kept trying to open and close the window and turn system on and off (per instructions). Next, I replaced the battery in the sensor for that window. Same problem. Wanted to check adjacent window (18) to see if my battery was in right, etc. After I reassembled it, window 18 was also not working. (Yes, I reassembled everything identically.) Not willing to experiment with additional zones, but I want to know if the zones can/should/must be reset somehow after battery is changed. Neither the “ready” or “armed” lights are lit on the master control pad next to the door. Is there a secret reset button inside the window battery compartment?
John Bay
Same problem as the other John. I can’t remove the keypad from the wall. It appears that there may be a way to pry off the facing of the keypad, but I’m afraid I will damage something in doing so.
Troy Mendez
If your battery trouble doesn’t clear and you’ve already replaced it, you can check a few things before taking a bat to your alarm; you will need a voltmeter.
First, disconnect the battery and check the voltage on the battery itself. A good battery should be more than 12volts DC. 12.2 is still low for a brand new battery; I would like to see 12.7 at least. If it’s low, you may have purchased a bad battery.Next, check the voltage on the battery wires coming from the alarm control board itself. It should put out around 13volts DC to continually charge the battery. If you get low volts or no volts, you may have a bad alarm board.
Sometimes a device that uses DC power such as glass break sensors or motion detectors, can have a problem which affects the power on the board. Try disconnecting the positive power wire from the board. Check the diagram inside the door cover or check your manual to be sure. The wire should be red and the terminal will be labeled aux power (+) or keypad power. Most ademco panels have it on terminal 5. With the wires disconnected, check the power from the battery wires and try to clear the trouble. If the voltage had dropped because those wires were connected you may have either too many devices attached or you could have a bad wire or bad device. A technician SHOULD be able to tell you which.
Lastly, check the power from the transformer. You can test it by checking the wires on the far left of the alarm control board. The raiting of the transformer is 16.5 Volts AC (not DC). But you should see voltage a little higher than that. If it’s low, you may need a new transformer.
Also, sometimes alarms just need a kick in the butt. Try to pull all power from the alarm by disconnecting the battery and the transformer. Give it about 10 seconds then restore power. If the battery trouble does t return within several minutes then you are grand. If it does return, you may need your technician to come out and take a look at things. Chances are you may need a new board.
Muhammad
Two of my fire alarms keep peeping. I checked batteries, they are fully charged.
I keep trying to reset the panel but they keep beeping, rather loud.
Also the panel shows fault. When I reset it the fault sign goes away but back after a short while.
John
So, for my wall-mounted keypad, I simply lift up and pull out on the “keypad “ to access the battery compartment! A heck of a lot easier said than done! I’ve thought of using a crowbar, but decided that would be a bit of an overkill!
Seriously, any thoughts on how I can get in this keypad?
John
mike brady
my keypad reads not ready and there is a small ac in the right upper corner. any ideas/
Lisa
I have the same problem Rick Smith. It’s driving me crazy! I am at a loss on what else to try.
Rick Smith
I change my Honeywell L5200 system battery but the low battery icon still showing after some weeks. The unit transformer have been plug in the wall with a new 24 hour battery but it still haven’t clear. I use the test mode method and still it not clearing. I unplug the new battery and plug it back in no luck. I made sure the new battery had time to charge but the icon is still there. I watch all the posted youtube videos and read my booklet I need help please.